Here is a view of the paper nameplate in its original form:
For this project I used Velcro, paperboard from Aldi cracker boxes, a 12oz denim remnant from another project, and Coats Double Duty thread.
I drew my own pattern for this project. You will notice there are two pattern pieces. I originally intended to upcycle some vinyl from an old comforter bag. I actually cut it out and partially sewed it to the project. I decided I wasn't do too well with it so I ripped it off and took a different approach. The vinyl was going to create pockets for the name plate.
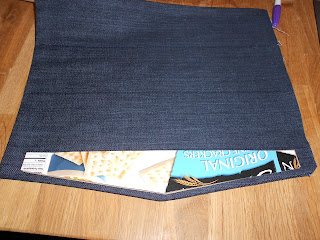
The nameplate need some stiffening. As stated, I used some paperboard from Aldi cracker boxes. Here are a not-so-good picture of the layout, and a picture of the cut out pieces. I wasn't sure if the pointed portion was going to need to be stiffened, so I didn't lay out or cut out those pieces until later. That's why they're not pictured.
Here's a view of the fabric cut out. No need to iron it.
I then sewed the pieces together around three sides, rights sides together, turned it right side out and laid where to sew for there to be four pockets to put the paperboard stiffeners in.
After inserting all of the stiffeners, I sewed the 4th side shut. Next I sewed the hooks and loops (Velcro) so that it would stay in the standing position. I then proceeded to deal with the nameplate. I cut it into two and then laminated the two pieces with packing tape. I then sewed them on. (I wouldn't advise doing this on just any sewing machine. Keep in mind, I sewed through two layers of denim, two layers of paperboard, and a tape-laminated piece of card stock. My Bernina handled without any issues.)
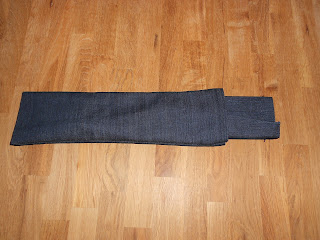
For travel, I took another piece of the denim remnant and sewed up a sheath.
Note:
I used the Bernina #8 Denim foot, a Schmetz Denim needle, and the Bernina straight stitch plate, in addition to the heavier thread.


No comments:
Post a Comment