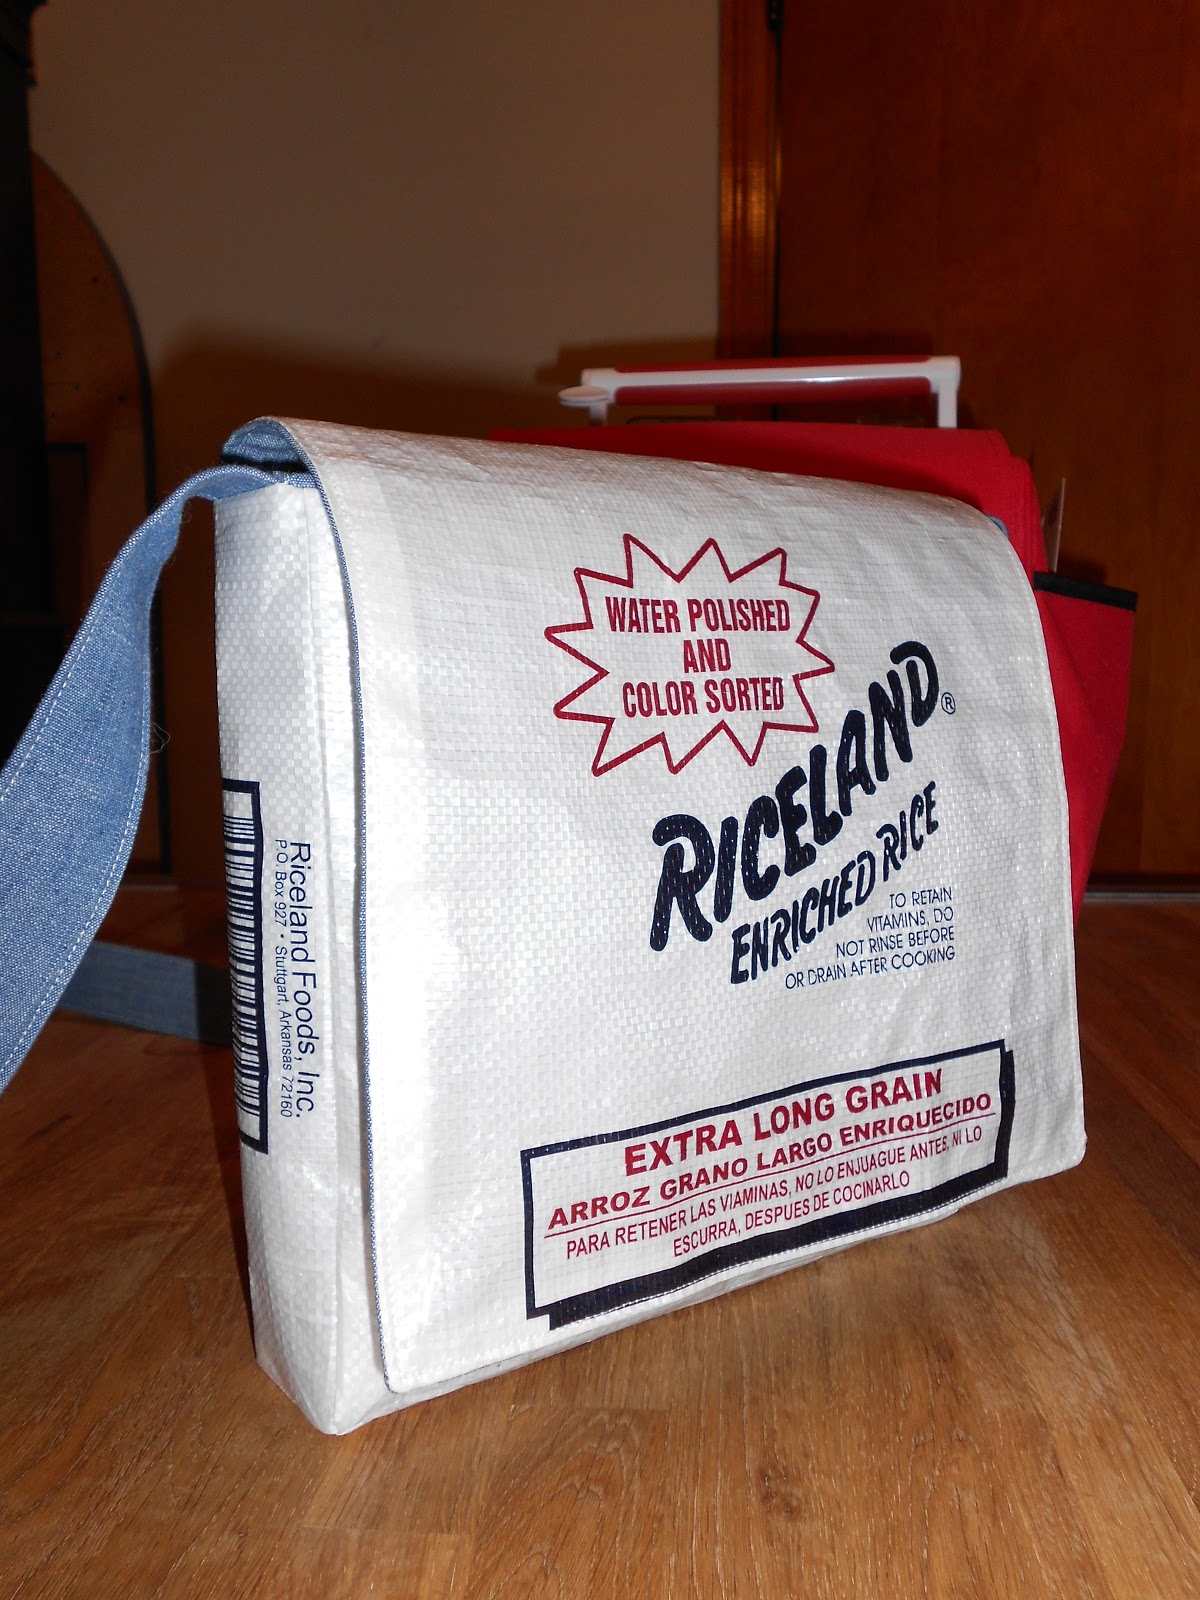
About this blog

Sewing Adventures is a blog dedicated to both my sewing creations and inspirations.

Tuesday, August 28, 2012

Target Hotdog Wrapper Upcycle Wallet

A week or so ago, while I was eating some hot dogs at Target, I thought about what could be made from the wrappers instead of throwing them out. I smoothed them them out, brought them home, and set them aside while I occasionally came up with ideas while researching online. After examining a couple of different paper wallet designs, I opted to go my own route with a more conventional wallet layout.

What you need:
2 - Used but clean and flattened Hot Dog wrappers
1 - Pair of Scissors
2 - Straightedges for marking, folding, and measuring
1 - Roll of Clear packing tape
1 - Marking Pen
1 - Sewing Machine with appropriate needle (I used an 80)
Thread
Patience


Here's a look at my design notes. The bottom right shows the pocket strips and the folding increments.


View of wrapper before starting:


First thing you do is laminate both sides of the wrapper with packing tape. It's helpful to do it on a surface that you can easily stick and remove the tape from.


You could totally stop here and you'd have yourself some place mats.


The next two pictures show the layouts of the pieces prior to cutting.


Initially, I thought there were only four pieces needed until I folded and recalculated the numbers and found that two additional pieces were needed for the front pieces for the pockets strips.


These are the additional pocket strip pieces. They simply splice in.


View of wallet pieces before final assembly.


Close up of right pocket strip as folded.


Close up of left pocket strip as folded. 


Finished. As this was both a prototype and the real deal, I found the sewing to be a little bit more of a challenge. However, I pressed on and finished. You can see the pockets are similar but not identical. 


Bill compartment view.


Final view of wallet standing up.


I know there are a few places that can be improved. Because the wallet was made from limited pieces of paper and it was more practical, the pockets were made up of an accordion-folded strip. This causes a thickness issue. In addition, the I ended up sewing over a few areas three times. It's all in doing and learning.

Overall, I think it came out well for being made from hot dog wrappers.

Sunday, August 12, 2012

Simple Tie Strap Crossbody Prototypes

The three bags below are muslin prototypes inspired by the "C" bag of the Kwik Sew K3749 pattern.

This first bag is a stylized version and the first iteration. Like its inspiration, the strap is tied. I found that I put too much taper in the strap halves and not enough depth in the bag. I merely sandwiched the two halves together in assembly. It was used as food for thought.

(The image skew is due to the angle of the camera at the time of capture.)

This second version has straight edges. I thought they were a nice concept, initially, but didn't particularly enjoy them. I removed the taper from the straps. In addition, I reversed the order of the two halves. The bag laid much better, and this detail is what is part of the original inspiration. This bag, too, is made up of two halves sandwiched together. On this second concept I decided to try a decorative stitch to sandwich the halves together.

(The image skew is due to the angle of the camera at the time of capture.)

This third version maintains the straight edges of the second. I added 2" to the length if the bag. I also played around with the strap, getting rid of the ties and opted to use a strap method I used when I made bag "D" of the New Look 6425 pattern. Finally, I opted to attach the sew the halves together with the edges turned in.  

(The image skew is due to the angle of the camera at the time of capture.)
 
I think I've learned enough from the three different iterations that I can combine attributes of each and be satisfied with the final product when I make it. It's been nice to be able to play around with this concepts.


Wednesday, August 8, 2012

My First Upcycling Project

I was inspired to take on this project after looking around at what others have done. I created my own pattern and layouts. This took a very casual 4 days, with 08/08/12 being the main day of cutting and construction.